

As a lot of you know, I’m a big fan of Col. Jeff Cooper and all the Cooper-isms that have sprung from his teachings.
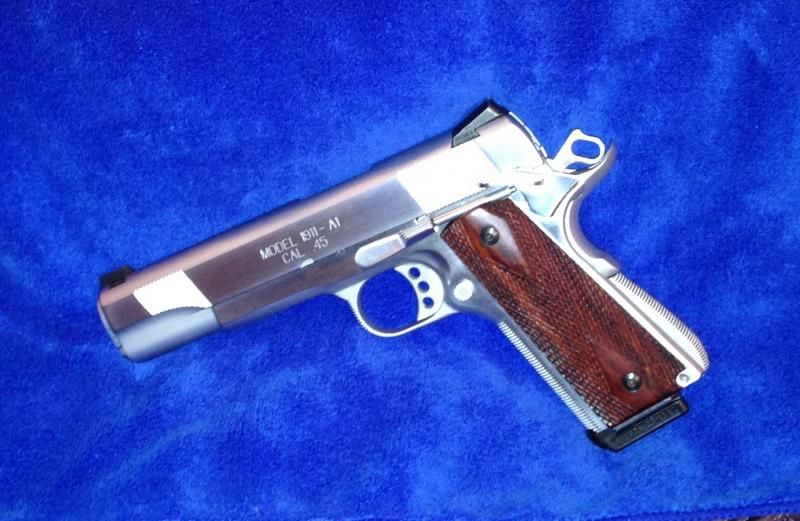
Not long ago, a Cooper-era Gunsite 1911 crossed my path. I knew that it had already been to a local(ish) smith having had an issue with the grip safety… and although I really REALLY wanted this gun, I knew I’d have to sacrifice another to have it.
I thought about it and thought about it…and came to the reasoning that since this started off as a Springfield Mil-Spec and ended up having all the enhancements done that I’d do to my own Mil-Spec…that’s what I decided to trade off.
I loved my Mil-Spec…it was cherry and hit what I aimed at every time, eating any ammo I schlepped through it. But I wanted that Gunsite gun…so it was culled from the herd.
I have a friendly acquaintance who visits where I work fairly frequently, and I’ve taken to asking his advice on just about all things 1911…especially this gun. Why? Because he was not only one of Col. Cooper’s best friends for decades, he was extremely involved in the original Gunsite. It’s fair to say I’d take his opinion over ten others. Unfortunately, he never saw this gun before I bought it and sent it out to be fixed. More on that in a bit.
Firstly, these are the things were changed on this Mil-Spec since 1990…No way to tell which were done AT Gunsite, and which happened between leaving there and crossing my path;
- Replaced the GI guide rod with a two-piece system (which I didn’t care for)
- Serrated the front of the slide
- Checkered the front of the trigger guard
- Added Novak sights
- Replaced the trigger with a skeletonized one
- Checkered the front strap
- Replaced the spur hammer with an enhanced one
- Replaced the stock grip safety with a swept beaver-tail w/ memory bump
- Checkered the arched mainspring housing
- Replaced the thumb safety with an ambidexterous
- Hard chromed
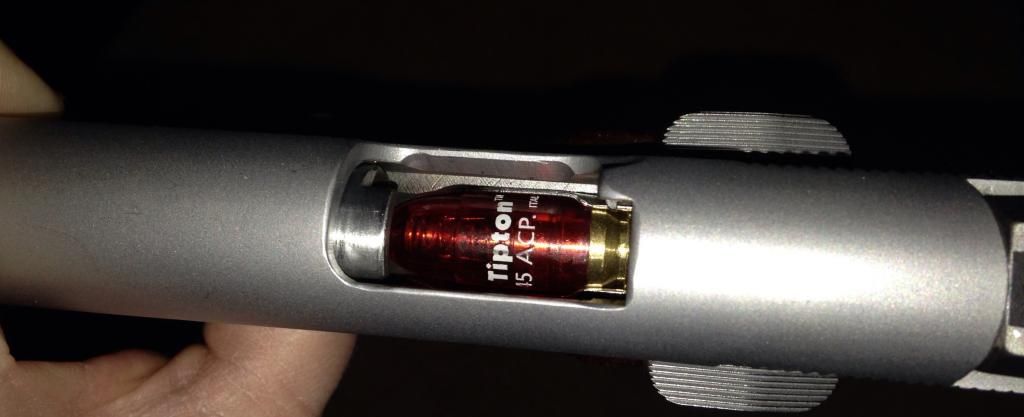
Upon my maiden voyage to the range, out of multiple dozens of tries, only 2 or 3 rounds actually stripped off the mag (tried several different mags, and different ammo). The round nose FMJ were getting stuck in dead level nosed right into the feed ramp.
Turns out there was a divot horizontally across the feed ramp (as if someone “polished” it from side to side instead of up and down.
I chose to send it to AllenM (Moore Gunworks: Avon, Indiana).
Every time Allen fixed one problem, another would present itself.
For instance…upon fixing the feed ramp issue, it was evident the slide wasn’t moving fast enough…because the hard chrome treatment had gotten on the rails. Once that was resolved, when the slide moved at optimum speed, there was hammer follow…and on and on.
I’ll let Allen show you the step by step photos (and maybe videos) and explain the progression of steps he took to fix this lemon (and trust me…I did trade away a lurved cherry gun for a LEMON)… but in the end when I got it back, I’ll say my 1911 advisor extraordinaire told me that he hasn’t seen a gun that well fitted and that well worked over in over 30 years. He was extremely impressed with Allen’s work and told me if there was ever anything he decided to do to his own guns, he was getting Allen’s contact info from me. Furthermore, he said that if there was ever a 1911 that he would (without question) buy and walk out the door with, without even asking what the price was…it’s THIS one, after Allen’s work.
Aside from the things he changed that I asked him upfront to do, this gun returned to me with pretty much the original frame, the original slide, and all new guts.
The high points of what AllenM changed per my request:
- Putting a GI guide rod back in
- Installing a fiber optic front sight
- Replacing the arched mainspring housing with a flat one
- Installing slim Grips from RAASCO
If you have any smithing that needs done, AllenM should be at the top of your troubleshooting 911 call. He’s the bombdiggity!
Take it away, Allen…

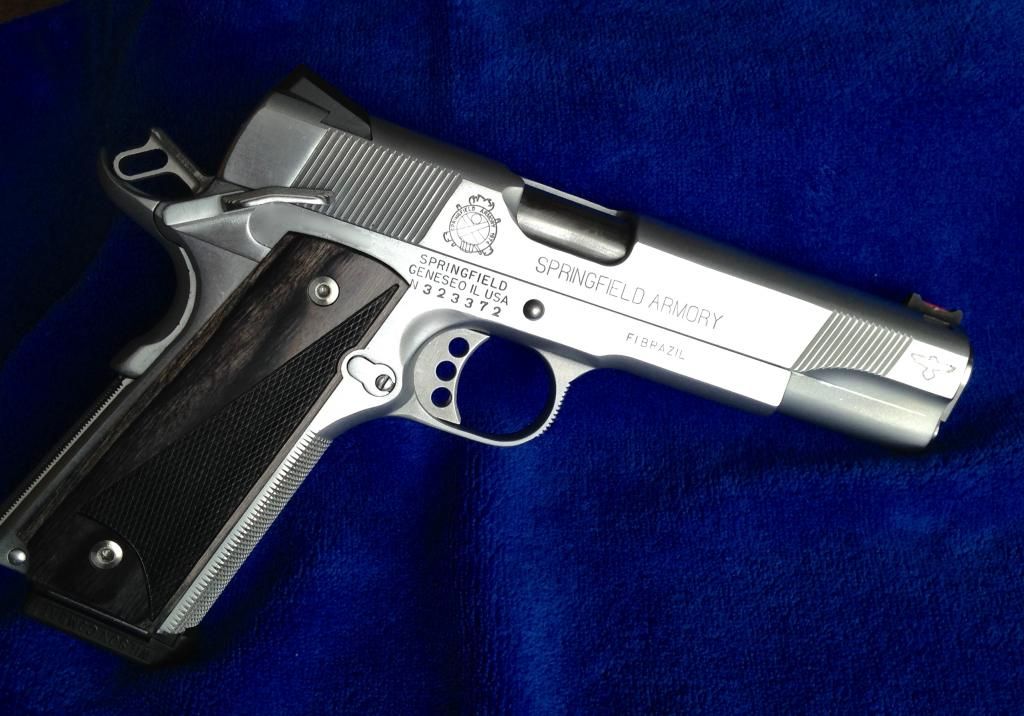
I don't really know how to go through this without sounding like I am bragging on myself but I am not. So bear with me if you find this interesting at all. It was interesting to me as I went through it and trouble shot it
As soon as I picked it up and racked the slide 3 problems were obviously wrong with the gun.
1. the Dis-connector spring was WAY over tensioned
2. the recoil spring was WAY to light I would say in the 10lb range
3. Looking in the ejection port I could see the feed ramp was like sandpaper.
So I thought a piece of cake I took about 45 mins and addressed these issues and headed to the range to test fire it and pat myself on the back about how smart I was and how quickly I fixed this problem child......Yea the gun did run but it would still not chamber the last round out of a new Wilson mag that JG sent with the gun.
Also the gun was shooting at least 3" too low from POA at 10 yards
I figured the extractor tension was keeping it from loading the last rounds and was contemplating what to do about POI.
So I take the gun back and next time I worked on it I adjusted the extractor and did a little polishing here and there and and back for test fire again. Now the gun ejects brass real erratically and also I have a hammer follow issue show up.
At this point I realized this was more than a simple cleanup and tune. Taking the gun completely apart and inspecting every part very closely here is what I found.
But first, Hypothesizing here for a bit. One thing I noticed is the gun had been Hard Chromed hardly any of the texture was polished of where it needed to be like the feed ramp and even the barrel throat had Hard chrome on it and not polished.
The areas that should have shown wear like the frame rails showed hardly any wear at all.
I speculate that this gun was sent out for chroming and never ran right after that and that is wear the problems started.
The Hammer was toast so JG agreed to a new trigger group and I figured I would polish everything up
To be cost conscience yet produce a good quality job (which never works) initially I ordered Wilson Combat Bullet proof ignition parts to retain the appearance of the hammer I was removing and commenced to polish everything.


At this point I have put a correct length barrel link in the gun did trigger work with the Wilson parts and polished everything up and headed to the range. I still was not happy with barrel fit but it was acceptable, barely.
Now the gun shoots point of aim and runs pretty good but still the occasional hiccup and still has hammer follow issues.
Barrel fit was really bugging me, extraction issues were still a problem and the hammer follow had me really peeved.
What was needed was a complete rebuild as was stated earlier when I would correct 1 issue something else would pop up. I was attributing most of the issues to the barrel now.
Time to contact JG and discuss how far she was willing to go. I wanted to start over with a properly fit barrel and since I wanted to go that route replace all the small parts as well and make a new/better gun out of it then I could possibly do piecing things together.
She agreed and I upgraded all small parts to EGW that I could and purchased an Ed Brown Rebuild pin kit in Stainless and a Kart gunsmith fit barrel
What I ended up replacing;

First is to fit the hood;


First to determine how much material to remove.
I use a pin gauge to measure with and this has .024 excess material in the lug area.

Nice thing about this fixture is it recreates the arch on the lugs as well. Gives a nice professional job.
The sound of a well fit barrel; http://s285.photobucket.com/user/VelvetHammer1960/media/Gunsmithing%202015/JG%20Springfield/final%20build/MVI_2673_zpsklxc0mvv.mp4.html?sort=3&o=24
Funny thing is that this barrel uses the same barrel link that the original barrel should have had in it except this one contacts the slide lugs and the slide stop properly. Which tells me the pin hole in the factory barrel is not drilled to spec,
So now I do a polish and trigger job on the new parts and pins and the lower is done. (Over simplified)
I polished and replaced the extractor with a new stainless one. It was a little over sized so I trimmed it down and since I would not be chroming it, I polished it for a nice contrast.


With new one:


Needed fitting as well;

Old one:


